DOWNLOAD CATALOG
Leave Your Message

How to Use a Patch Heat Press?

Using a patch heat press looks simple, but small mistakes can weaken the final bond. A patch may appear secure on the surface while lifting at the corners after washing. This guide explains how to prepare the garment, position the patch, select suitable settings, and apply steady pressure. It also considers patch material, fabric type, adhesive behavior, and cooling time. These details matter more than pressing harder.

Heat-printing educator Josh Ellsworth is widely respected in the apparel decoration industry. He often reminds decorators, “Temperature, time, and pressure must work together.” That principle defines reliable Patch Heat application. A correct temperature cannot compensate for weak pressure. Extra pressure cannot repair an unsuitable adhesive. The press must create consistent contact across the entire patch.

Before pressing, inspect the fabric for seams, coatings, moisture, or uneven texture. A clean, flat surface usually produces better results. Test one patch whenever the garment or adhesive is unfamiliar. That step may feel slow. It can prevent damaged fabric and wasted materials. Follow the patch manufacturer’s instructions, because recommended settings vary by adhesive and backing type. Some patches need a cover sheet. Others require a second short press.

Even experienced decorators sometimes misjudge cooling time. Do not pull at the patch immediately. Let it cool according to the product guidance, then check every edge gently. If one corner rises, the process needs review. The issue may involve pressure, temperature, fabric tension, or timing. This article will help you build a repeatable method, while recognizing that perfect results require testing and careful observation.
How to Use a Patch Heat Press?

What Is a Patch Heat Press and When Should You Use One?

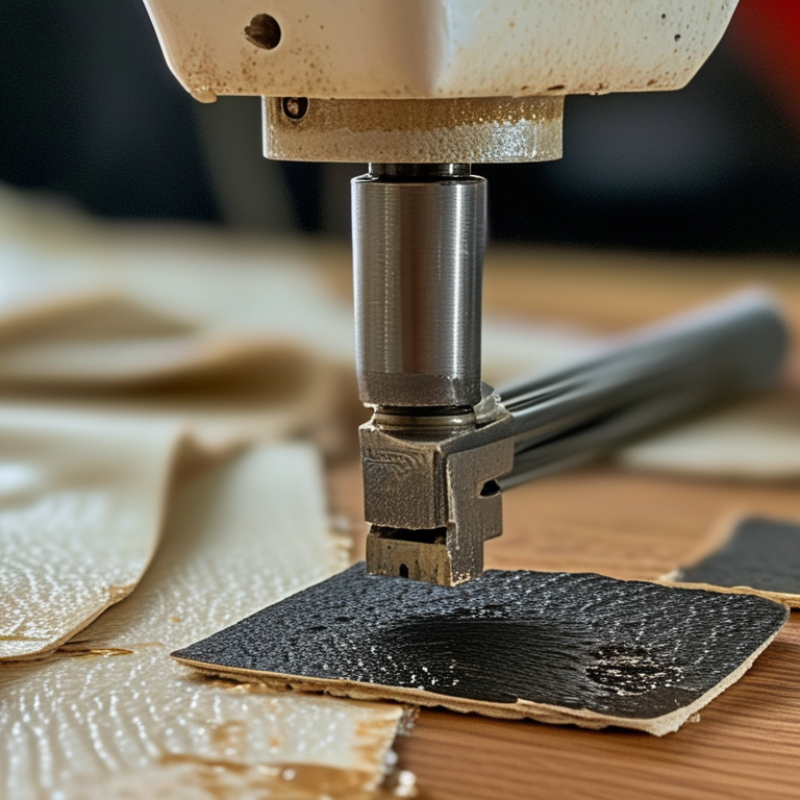
A patch heat press is a compact machine that applies controlled heat and pressure to attach patches. It usually has a heated upper platen, a firm lower pad, and adjustable temperature and pressing time. Unlike a household iron, it distributes pressure more evenly across the patch. That consistency matters on jackets, uniforms, bags, caps, and other fabric items.

Use one when you need repeatable results or want to attach several patches efficiently. It works well with heat-activated embroidered, woven, and transfer patches. Check the patch instructions first. Set the recommended temperature and time, then place the garment flat on the pressing pad. Cover the patch with protective paper and lower the platen steadily. Do not slide the patch during pressing.

Small details matter.

Test one item before pressing a full batch. Fabric can shrink, scorch, or show a glossy pressure mark. I have found that thick seams sometimes prevent even contact, especially near pockets or zippers. Repositioning the garment may help, but it can also weaken alignment. Curved surfaces require extra care because a flat press cannot always touch every edge. After pressing, let the patch cool completely before checking adhesion. Gently inspect the corners and press them again only if the material allows it. A heat press improves control, but it cannot correct unsuitable fabric or poor patch adhesive.

How to Use a Patch Heat Press?

What Is a Patch Heat Press and When Should You Use One?

A patch heat press applies controlled heat, pressure, and time to bond heat-applied patches to garments, bags, hats, and other suitable fabrics. The chart below shows typical starting temperatures for common patch materials. Always test on a hidden area and follow the patch manufacturer's instructions.

How to use it: Preheat the press, position the patch adhesive-side down, cover it with parchment or a protective sheet, then apply firm, even pressure for the recommended time. Allow the patch to cool before checking the bond, especially when using a cool-peel adhesive.

What Materials and Tools Are Needed for Patch Heat Pressing?

How to Use a Patch Heat Press?

A patch heat press needs more than a heated machine. Prepare the patch, garment, heat-resistant sheet, ruler, lint roller, and clean scissors. A firm, flat worktable also matters. Cotton, denim, canvas, and some polyester fabrics usually work well, but always check the patch and fabric instructions first. Some synthetic materials can shrink, shine, or melt under excessive heat.

Remove lint from the garment with a roller. Measure the placement carefully, especially on pockets, sleeves, or curved areas. Position the patch with its adhesive side facing the fabric. Cover it with parchment paper or a suitable protective sheet. Set the temperature, pressure, and pressing time according to the patch supplier’s guidance. Press straight down without sliding. I once placed a patch slightly off-center, and the mistake was obvious after cooling. It is better to measure twice.

Tips: Test the process on a fabric scrap first. Use moderate pressure, and do not guess the temperature. Let the patch cool before checking its edges. If a corner lifts, cover it again and apply short, controlled heat. Avoid touching the press plate directly. Keep the fabric smooth, dry, and free from zippers or thick seams during pressing.

How to Prepare the Patch, Fabric, and Heat Press

How to Use a Patch Heat Press?

Preparing the patch, fabric, and heat press carefully affects the final bond. Inspect the patch for loose threads, dust, or uneven adhesive. Trim stray fibers with small scissors. The fabric should be clean, dry, and smooth. Confirm that it tolerates heat, especially if it contains synthetic fibers or a surface coating. My first attempts looked aligned, but the corners lifted after washing. A test patch on scrap fabric would have exposed that problem earlier.

Check the patch instructions for temperature, pressing time, and pressure. These settings can vary by adhesive and fabric. Pre-press the fabric for three to five seconds to remove wrinkles and moisture. Position the patch with the adhesive side facing down. Cover it with a pressing sheet to protect both surfaces. Keep the patch still while closing the press. After pressing, allow it to cool before checking the edges. Do not pull aggressively. A warm adhesive may seem secure and still fail later.

Tips: Test before production. Use matching scrap fabric. If an edge lifts, inspect pressure and alignment before raising the temperature. Excessive heat can discolor fabric or flatten textured patches. Wait until the material cools completely. Then wash it according to the fabric’s care instructions, and inspect the corners again.

How to Apply a Patch with the Correct Heat and Pressure

Applying a patch successfully depends more on controlled heat and pressure than pressing harder. Start with a clean, dry fabric and preheat it for three to five seconds. Set the press near 150°C and use medium pressure for 10–15 seconds. These settings are only a starting point. Patch adhesives, fabric blends, and backing materials behave differently. Textile Exchange’s 2024 Materials Market Report recorded about 124 million metric tons of global fiber production in 2023, showing how varied modern textiles can be.

Place parchment paper over the patch. Keep the patch flat, with no folded edges. A firm press should compress the fabric slightly, not crush the patch. Check the edge after cooling for 30 seconds. If it lifts, add five seconds rather than immediately increasing temperature. Excessive heat can darken synthetic fabric or leave a glossy rectangle. AATCC Technical Manual procedures emphasize controlled conditioning and repeatable testing, which supports testing on a hidden fabric area before production.

I once trusted the press display too much. It showed the correct temperature, but the patch still peeled because pressure was uneven. That mistake matters. Test one sample, record the temperature, dwell time, and pressure, then inspect it after washing. ISO 6330 washing methods are useful for evaluating durability, but real wear can be harsher. A second press may help. Too many presses can damage the fabric.

How to Check the Bond and Care for the Finished Item

After pressing a patch, let the garment cool completely on a flat surface. Do not test the bond while it is warm. Heat can soften the adhesive and create a misleadingly strong feel. When cool, inspect every edge under bright light. Look for lifting, bubbles, shiny adhesive, or fabric distortion. Gently rub the patch with a fingernail, then flex the fabric around it. A secure bond should remain flat without cracking or shifting. For quality control, record the fabric type, press temperature, pressure, and dwell time. Small details matter.

A practical peel check can reveal weak corners, but avoid pulling hard enough to damage the textile. If an edge lifts, repress it with protective paper and slightly adjust the process. Waiting 24 hours before washing is safer, though it is not always convenient. AATCC TM61 states that one 45-minute accelerated cycle approximates five home launderings, showing how quickly washing can expose poor adhesion. Wash the finished item inside out, use a mild cycle, and avoid bleach or aggressive detergents. Air drying is preferable. High dryer heat may soften the adhesive again. Textile Exchange reported that global fiber production reached about 124 million tonnes in 2023, making careful garment maintenance increasingly relevant. I still inspect the first washed sample twice; one successful press does not prove a repeatable process.

How to Use a Patch Heat Press? - How to Check the Bond and Care for the Finished Item

Stage Recommended Action Typical Setting or Timing What to Check Important Notes
1. Identify the Materials Confirm the patch adhesive, fabric type, and heat tolerance before pressing. Allow a few minutes for inspection. Look for care labels, adhesive instructions, and fabric restrictions. A heat press setting is not universal. Follow the patch and garment manufacturer's instructions whenever available.
2. Prepare the Surface Wash and dry the garment if needed. Remove lint, wrinkles, moisture, and loose threads from the application area. Pre-press the fabric for approximately 3–5 seconds. The area should be flat, dry, and free of surface contamination. Do not apply heat directly to moisture-sensitive or heat-sensitive materials without testing first.
3. Position the Patch Place the patch adhesive-side down and cover it with a non-stick sheet or protective parchment suitable for heat pressing. Center and align before closing the press. Check spacing, orientation, edges, and complete contact with the fabric. Use a pressing pillow or firm insert for seams, pockets, and uneven areas so pressure reaches the patch evenly.
4. Set the Press Set temperature, pressure, and dwell time according to the adhesive instructions. A common starting range for many heat-seal patches is 150–170°C (302–338°F) for 10–20 seconds, but the correct setting depends on the adhesive and fabric. Verify that the press reaches the displayed temperature and that pressure is even. Excessive heat or time can scorch fabric, flatten texture, or damage synthetic fibers.
5. Apply Heat and Pressure Close the press smoothly and maintain steady pressure for the selected dwell time. Use the specified time without opening the press repeatedly. The protective cover should remain in place and the patch should not shift. Protect hands from hot surfaces and use heat-resistant tools when handling the item.
6. Cool Correctly Leave the item flat and allow it to cool according to the adhesive instructions before flexing or wearing it. Wait until the patch and fabric are cool or lukewarm; some adhesives require a cold peel and others a warm peel. The patch should remain aligned, with no lifted corners or bubbling. Peeling the cover at the wrong temperature can pull up the patch or disturb the adhesive bond.
7. Check the Bond Inspect the entire perimeter and gently test the edges after cooling. Perform the inspection after the item has fully cooled. A good bond has fully adhered edges, no gaps, no wrinkles, no bubbles, and no visible adhesive residue. Do not pull forcefully on the patch. If an edge lifts, cover it and repress using the recommended setting.
8. Perform a Durability Test Flex the fabric gently and inspect the patch after light handling. Test before the first wash whenever possible. Check for corner lift, cracking, peeling, color change, or fabric scorching. For production work, test a sample first because fabric finishes and stretch can affect adhesion.
9. Wash and Dry Turn the item inside out, wash gently, and use mild detergent when permitted by the care label. Use the lowest suitable wash temperature and a gentle cycle. After washing, inspect the patch while the garment is still flat. Avoid bleach, harsh chemicals, aggressive agitation, and high heat unless specifically approved for the patch and fabric.
10. Ironing and Long-Term Care Iron from the reverse side or place a protective cloth over the patch. Use low or medium heat only when allowed by the care instructions. Make sure the patch is not exposed to direct prolonged heat. Store the item clean and dry. Repressing may be required if repeated washing or stretching causes an edge to lift.
Safety and accuracy note: Temperature, pressure, dwell time, and peel method vary by adhesive, patch construction, and fabric. Always follow the specific instructions supplied with the patch and test on a comparable spare material before applying it to the finished item.